
A Leak Has Wrecked the Bathroom: The Insurance Claim, Explained
What to do in the first hour, what the claim usually covers and what it quietly does not, what a plumber's cause-of-leak report has to say, and how the room gets put back without a second argument.
Water through a ceiling is the call I get that comes with the most questions and the least time to answer them. The leak itself is usually the easy part. What follows it, a claim, an adjuster, a drying company, a schedule of works and a bathroom that has to come out and go back, is where people get lost, and where a few wrong moves in the first week cost real money.
This is the plumber's side of that process, written down for anyone in Andover, Marlborough or Hungerford who has just found the damp patch. I am not an insurer or a loss assessor and I will not tell you what your policy says; that is in the wording, and you should read it. What I can tell you is what the water has done, what has to happen to the room, and what the paperwork needs to say so the claim does not come back with questions.
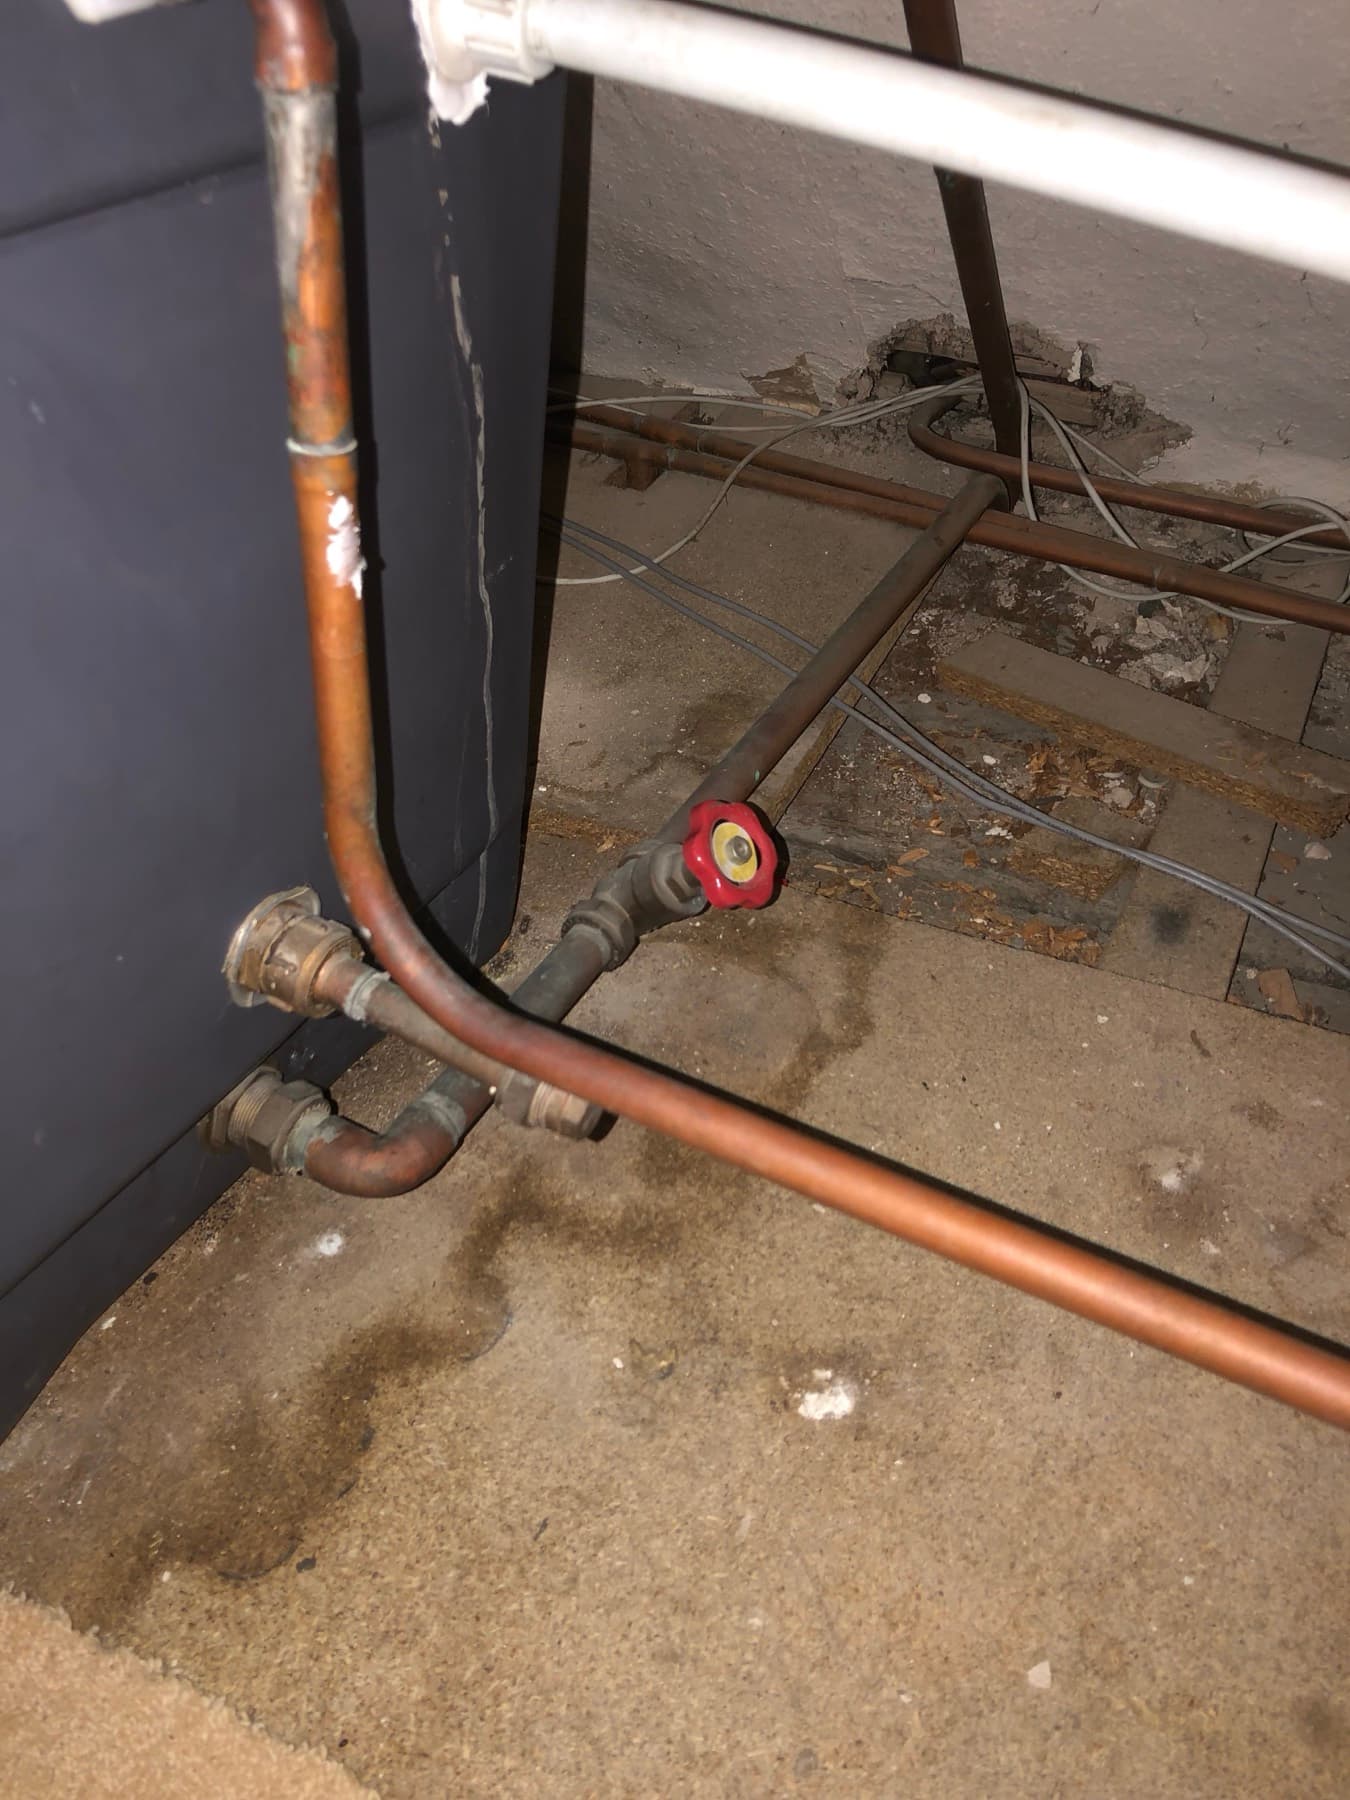
The First Hour
Everything the insurer will later ask about is decided in the first hour, and most of it is in your hands before anyone with a toolbox arrives.
1. Stop the water
The stopcock is usually under the kitchen sink or where the main comes in. Turn it off, then open the cold tap at the kitchen sink to drop the pressure in the pipes. If the leak is from a hot water cylinder or a tank in the loft, turn off the heating and the immersion as well. The emergency shut-off guide walks through it with pictures, and the stopcock guide covers the one that will not turn.
2. Photograph everything before anyone touches it
The ceiling, the floor, the bath panel, the water itself, the thing you think failed. Wide shots that show the room and close shots that show the damage. A claim handler who was not there is going to picture the scene from these, and a repair that happened before the photos were taken is a repair they can only take your word for.
3. Ring the insurer, not a contractor, first
Open the claim with the date, what happened and the photos, and get a claim number. Ask two questions and write the answers down: is the cause of the leak covered, and does the policy have trace-and-access cover. Ask whether they want to send their own contractor to make safe or are happy for you to. That one answer decides who you ring next.
4. Make safe, do not repair
Isolating the failed part, draining what needs draining and leaving the room safe to use or clearly shut off is making safe. Replacing the failed part, or worse, replacing the whole bathroom, before the insurer has agreed anything is a repair, and a repair done before agreement is one you may end up paying for yourself. If the water will not stop any other way, do what you must and photograph it, but stop there.
5. Keep the failed part
A split flexible hose, a cracked waste, a corroded tank connector. Whatever let go goes in a bag with a label, not in the skip. The adjuster may want to see it, and it is the single piece of evidence that settles the question of cause.
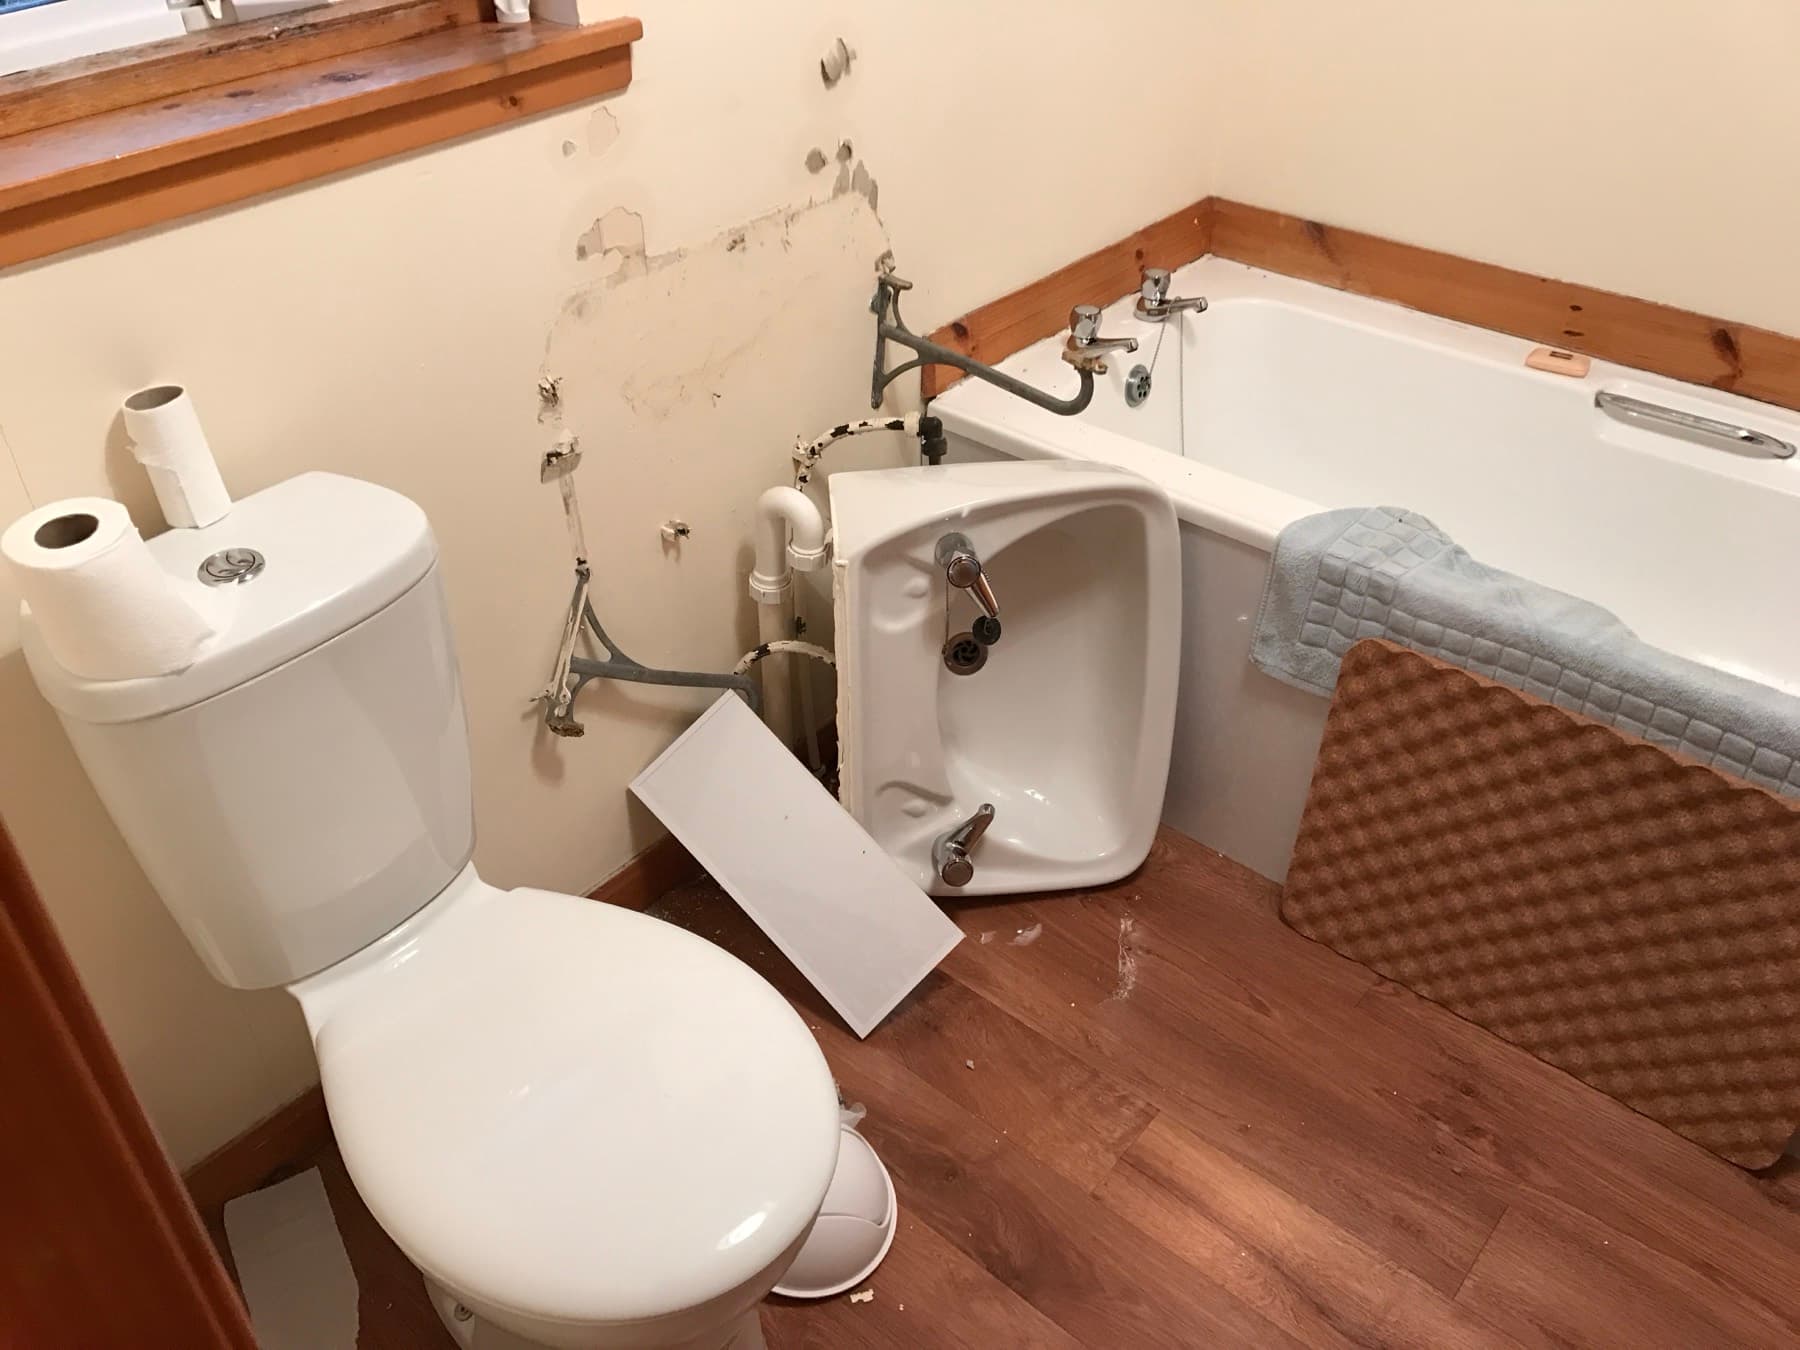
What a make-safe visit looks like
The supply isolated and the failed part identified, photographs taken before and after, a temporary repair only where that is the right call, and the water and heating left running wherever they can be. You get a written note of what was found the same day, in the form a claims handler reads.
An emergency slot is from £285 + vat (payment before dispatch). A report-and-survey visit, where the leak is already stopped and what you need is the paperwork, is from £150 + vat.
What the Claim Usually Covers, and What It Quietly Does Not
Every policy is different and the wording wins, so take this as the pattern I see on bathroom floors rather than advice on yours. The pattern is consistent enough to be worth knowing before the phone call.
| Item | Usually | Why it matters to the schedule |
|---|---|---|
| The damage the water did | Covered, as escape of water under the buildings section | This is the main claim: ceiling, floor, boarding, tiles that came off to reach the problem, decoration |
| The pipe, seal or valve that failed | Often excluded, especially if it failed through age or wear | The leak repair sits on its own line so you can see exactly what falls to you |
| Finding and reaching the leak | Covered only where the policy has trace-and-access, up to its limit | Lifting a floor to find a leak is a separate line too, so it can be claimed against that section if you have it |
| Contents | Under the contents section, if you have one | Bath mats, towels, the cabinet contents. Photograph them with everything else |
| Gradual leaks and damp | Often excluded as gradually operating causes | A slow drip behind a bath panel that has been going for a year is a harder claim than a burst. Report leaks when you find them |
| The excess | Yours, and escape of water often carries a higher one than other sections | Check the figure before deciding whether a small claim is worth making at all |
| A better bathroom than you had | Never. Reinstatement is like for like | Upgrades live in a second column and you pay the difference, openly |
Adjuster, assessor, and who works for whom
A loss adjuster is sent and paid by the insurer and assesses the claim for them. A loss assessor is appointed and paid by you and prepares the claim for you, usually for a percentage of the settlement. For a straightforward bathroom claim the adjuster's visit is often all there is. For a large one, or one that is going badly, an assessor on your side can earn their fee. I work with both: the adjuster wants a readable schedule and clear photographs, and so does the assessor. I am not on any insurer's panel and you choose your own contractor; I just make that choice easy to defend on paper.
What a Cause-of-Leak Report Has to Say
The report is the document the whole claim turns on, and most of the ones I am asked to redo failed for the same reason: they described the damage and never said what caused it.
In every report I write
- • The cause of loss in one plain sentence: what failed, where, and whether it was sudden or gradual
- • Photographs of the failed part, the damage and the moisture readings, each captioned
- • What was isolated, what was left running and whether a temporary repair was made
- • The repair of the leak itself, quoted on a separate line from everything else
- • The claim number and the insurer's name, so it files itself
- • Sent as a PDF the same day as the visit
What goes wrong when it is missing
- • "Water damage to bathroom" with no cause invites the question "was this gradual?", and gradual is often excluded
- • No photograph of the failed part means the adjuster takes your word for it, or does not
- • A single lump-sum quote cannot be split between what is covered and what is not, so the whole thing gets argued
- • A report written after the repair describes a repair, not a leak
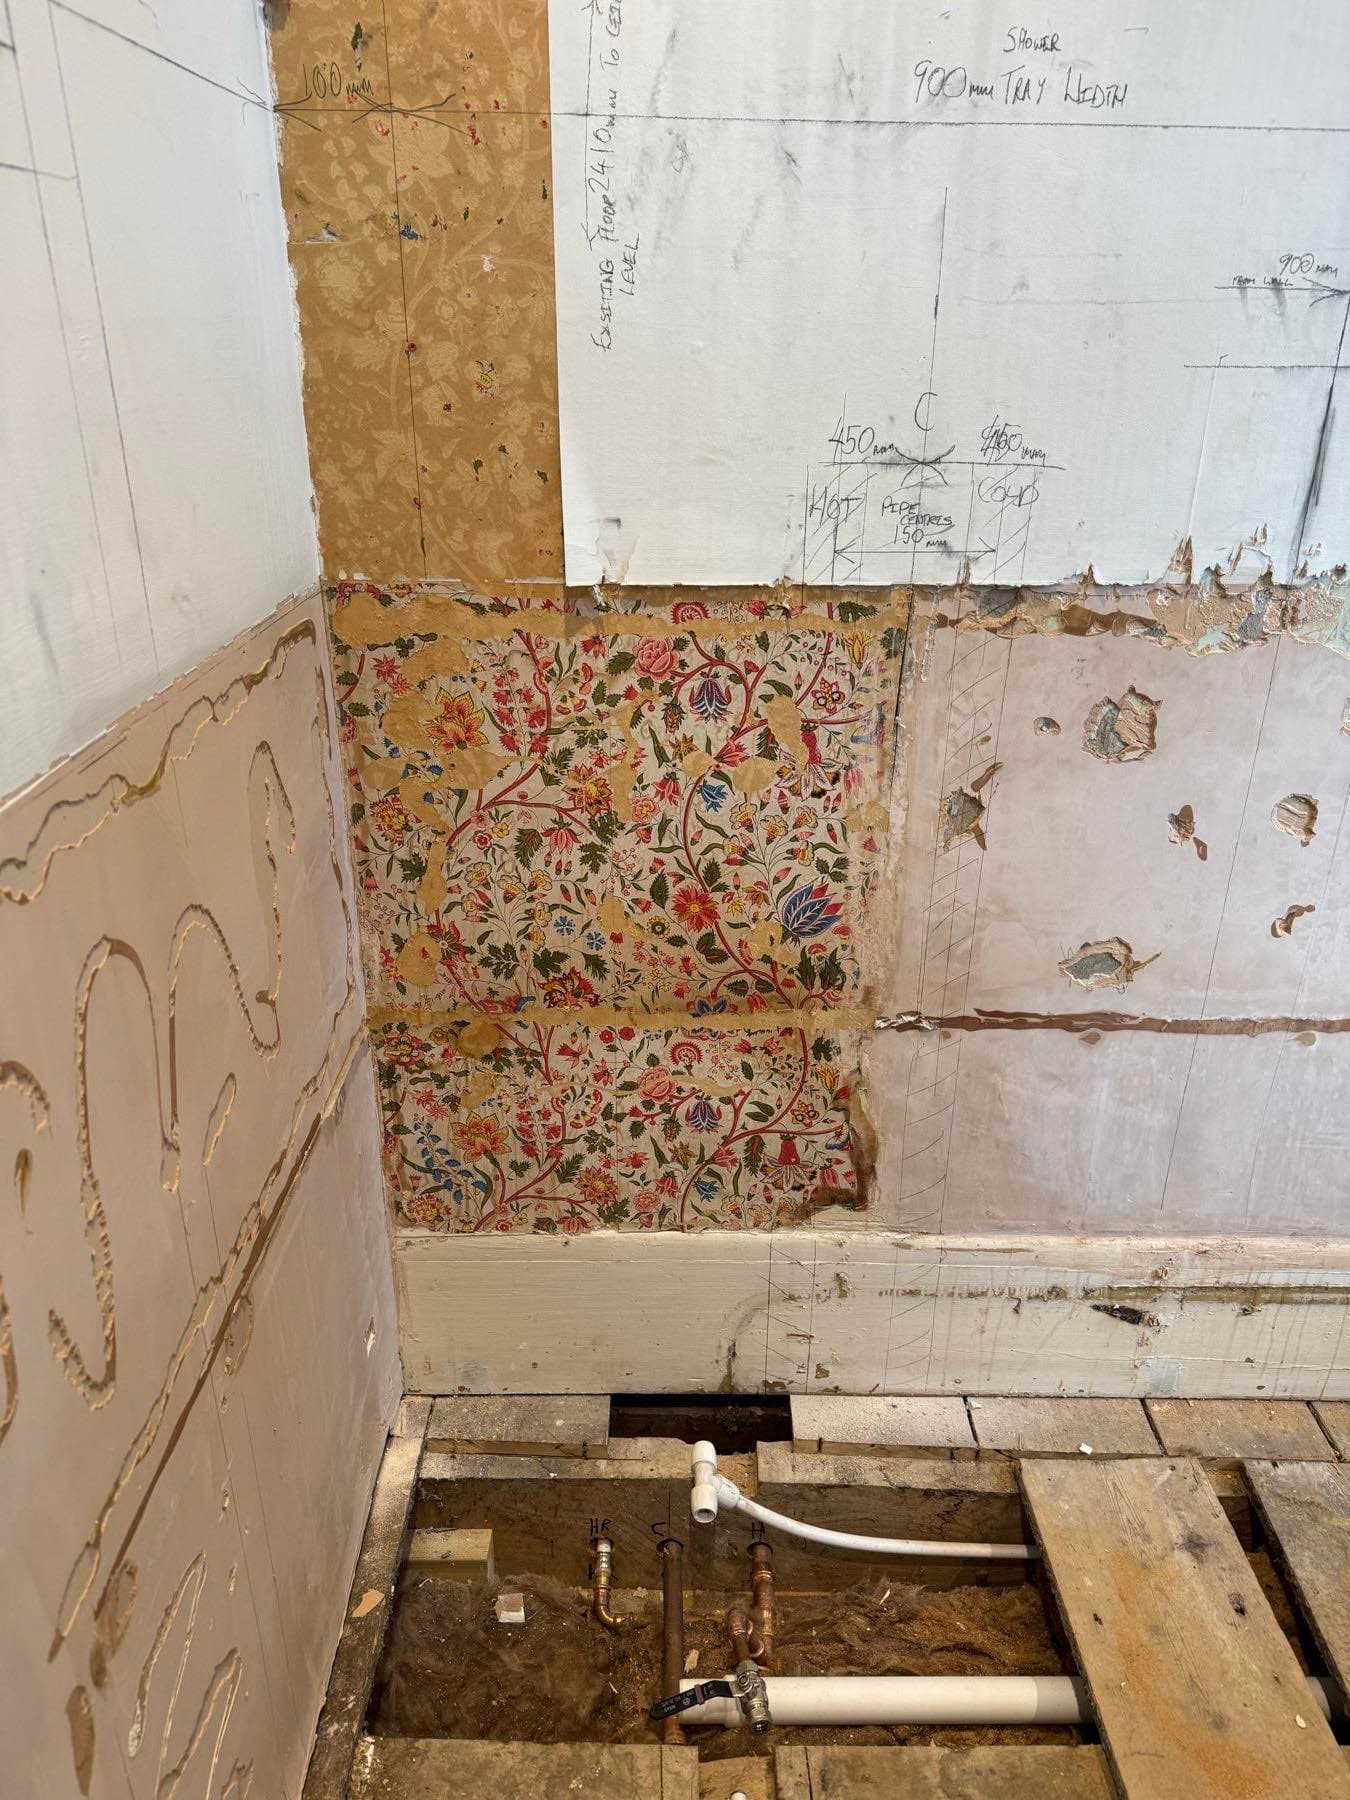
Then the schedule of works
The second document is the quote the insurer or adjuster is actually asked to agree, and it is itemised line by line: strip-out, drying time, first fix, boarding and tanking, tiling, sanitaryware, second fix, making good. Reinstatement sits in one column. Anything you choose to change while the room is open sits in another, clearly marked as yours.
Like-for-like means the make and model of what came out are written down next to what goes back. If the original is discontinued, the schedule says so and names the nearest equivalent, so the insurer can see the substitution was forced rather than chosen.
Dry First, Then Refit: How the Room Goes Back
The commonest mistake after a leak is not in the plumbing. It is closing up a wall that is still wet because everyone wanted the bathroom back.
1. Strip-out and dry-down
Saturated plasterboard, a swollen floor and a vanity that has drunk a week of drips come out. The floor and studs are opened where the moisture meter says to, the supplies are capped and labelled, and the room is left clean and ventilated. If the insurer sends drying equipment, this is the visit that makes room for it. If not, the schedule states how long the structure needs before it can be closed in. Strip-out is a day-rate job and the schedule says how many days.
2. Readings again before anything is covered
Timber and plaster that read wet get boarded over by people in a hurry, and a brand-new bathroom grows black mould behind the tiles within the year. The readings are taken again before a single board goes on, even if it costs a week. A reinstatement done twice is nobody's idea of a saving, and the insurer will not pay for the second one.
3. First fix, tanking, tiling, second fix
From here it is a bathroom job like any other, and the renovation timeline guide walks it week by week. The one difference is that the wet zone gets tile backer board and a tanking membrane whether or not it had them before, because the insurer is paying to put back a bathroom, not the fault that let the last one leak.
What it costs, and who pays which line
A wet-zone reinstatement (the shower area, its panels or tiles and the fittings in it) starts at £1,800 + VAT. A whole bathroom that has to come out and go back, with everything supplied, starts at £8,200 + VAT. Those are the same figures as any other bathroom I do, because there is no insurance price; the written figure is fixed after the survey and it is the same whoever is paying.
The insurer pays the reinstatement column. You pay the excess, the leak repair if your policy excludes it, and any upgrade you chose. Each is already a separate line, so there are no surprises on the last day. All prices exclude VAT (20%), and the work carries a 12-month workmanship guarantee with the manufacturer warranties on the fittings on top.
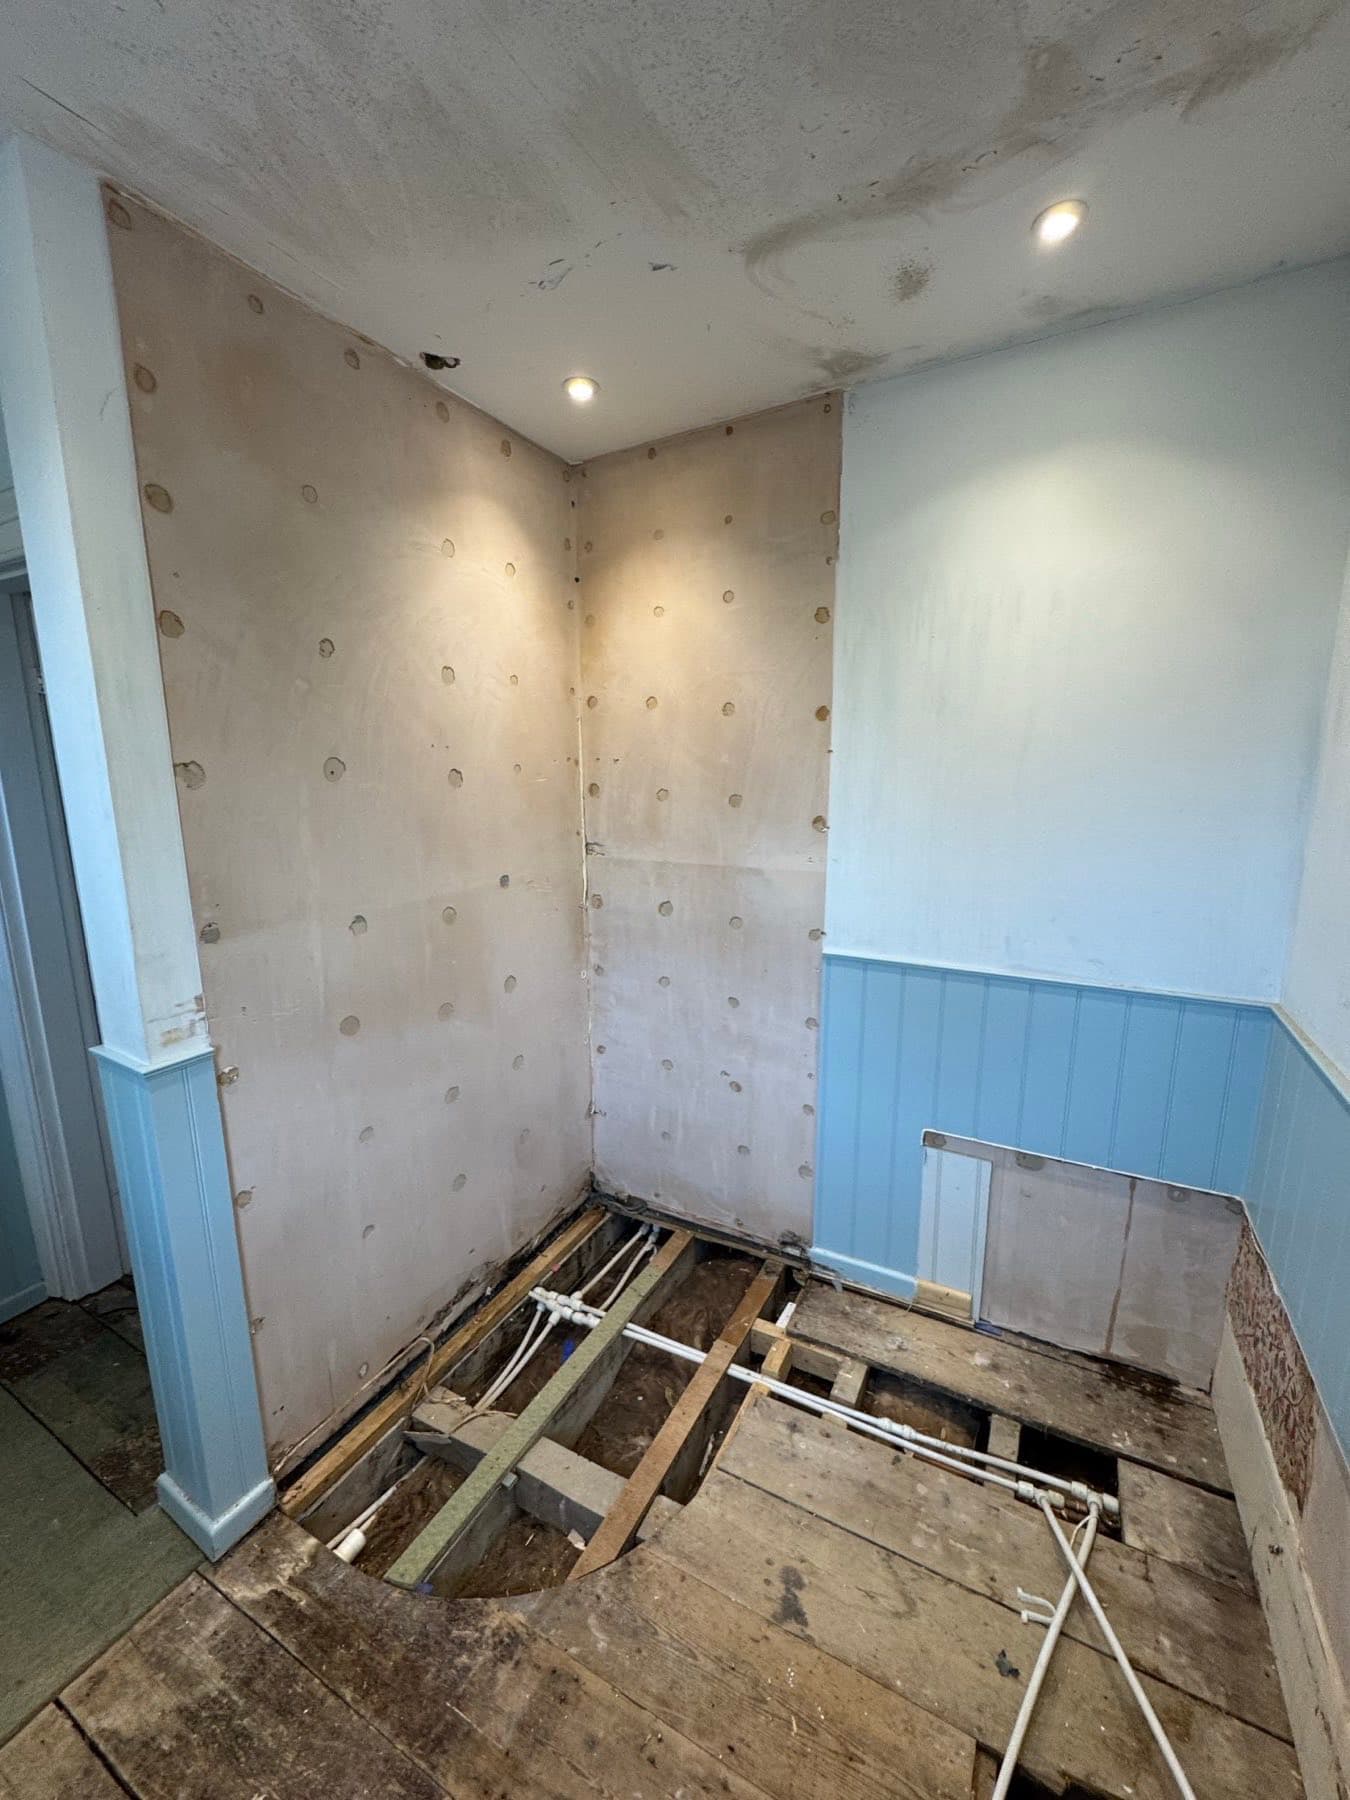
Where Claim Jobs Go Wrong
Do
- • Get the claim number before anyone quotes, and put it on every document
- • Ask for the itemised schedule and read the two columns before you sign anything
- • Agree payment stages with your contractor in writing. Insurers pay on their timetable, not the fitter's
- • Keep the failed part and every photograph until the claim is closed
- • Let the structure read dry before it is closed in, however long that takes
Do not
- • Accept a cash settlement that does not cover the schedule. The itemised lines are what you argue with
- • Ask the insurer to pay for a walk-in shower when a bath was damaged. Mixing an upgrade into the claim is how claims get refused
- • Start the refit on the strength of a verbal yes. Agreement is in writing or it is not agreement
- • Throw the failed part away
- • Believe anyone who calls themselves insurance approved. Insurers run contractor networks; they do not approve tradespeople, and the phrase is used far too loosely
A local note
Across Andover, Marlborough and Hungerford the housing stock runs old, and old houses hide pipework in places nobody has looked for decades: lead and iron under suspended floors, cold tanks in lofts with original connectors, bath wastes that were last touched when the bath went in. Most of the escape-of-water calls I attend are one of those three giving up, and the leak detection guide covers how each is found before anything is lifted.
The hard water does not help. Scale narrows a pipe and stiffens a valve, and a seized stopcock on the day of a leak is the difference between a damp patch and a ceiling on the floor. Test yours twice a year. It takes a minute.
Frequently Asked Questions
Is a bathroom leak covered by home insurance?
Usually the damage is and the cause is not. Most buildings policies list escape of water as an insured event and pay to put right what the water did: the ceiling below, the floor, the boarding and the tiles that had to come off to reach the problem. The pipe, joint, seal or valve that actually failed is often excluded, or covered only under a separate trace-and-access section, and anything that failed through wear and tear is excluded almost everywhere. Read your own wording or ring your insurer and ask those two questions directly.
What is trace and access cover?
A section some buildings policies include that pays for the cost of finding the leak and getting to it: lifting a floor, opening a wall, and making good afterwards. It is separate from the repair of the leak itself, which is still usually yours, and separate from the damage the water caused, which is the main claim. Not every policy has it, and the limit varies, so it is the first thing to check in the wording.
Do I have to use the contractor my insurer sends?
Often not, but it depends on the policy. Many insurers will accept a quote from a contractor you choose, or offer a cash settlement based on it, as well as offering their own network contractor. Some policies are written so the insurer manages the repair and you lose that choice. If yours lets you choose, a properly itemised schedule of works is what makes your contractor's quote easy to compare with theirs.
What is the difference between a loss adjuster and a loss assessor?
A loss adjuster is appointed and paid by the insurer to assess the claim on their behalf. A loss assessor is appointed and paid by you, the policyholder, to prepare and argue the claim on yours; most charge a percentage of the settlement, some work free if their own contractors do the repair. For a straightforward bathroom claim you may not need either beyond the adjuster the insurer sends. For a large or disputed one, an assessor working for you can be worth the fee.
How long before my bathroom is usable again?
The drying decides it, not the fitting. A wet zone caught early can be stripped, dried and refitted inside a couple of weeks. Walls and a floor that soaked for a month need to read dry on a moisture meter before anything is closed in, and that can mean drying equipment running for weeks before the refit starts. The refit itself is one to three days for a wet-zone reinstatement and two to three weeks for a whole room. Agreeing the schedule with the insurer before the fitting starts is usually the longest wait of all.
A Leak, a Claim and a Wrecked Bathroom?
One visit for the report and photographs, an itemised schedule your insurer can read, and a written price for putting the room back before any work starts. Andover, Marlborough and Hungerford.
Related Guides
Emergency Water Shut-Off Guide
Where the stopcock is, how to turn it, and what to do in the minutes before anyone arrives.
Read Guide →Leak Detection Services Guide
How a hidden leak is traced before the floor comes up, and what the readings mean.
Read Guide →Bath to Walk-In Shower: A Plumber's Guide
If the room is coming out anyway: what a conversion involves, what it costs, and when to keep the bath.
Read Guide →Planning bathroom work?
Three fixed-price packages, one written quote
A refresh from £1,800 + VAT, a bath-to-shower conversion, or a full bathroom we supply and fit. Free survey, fixed price, 12-month guarantee.